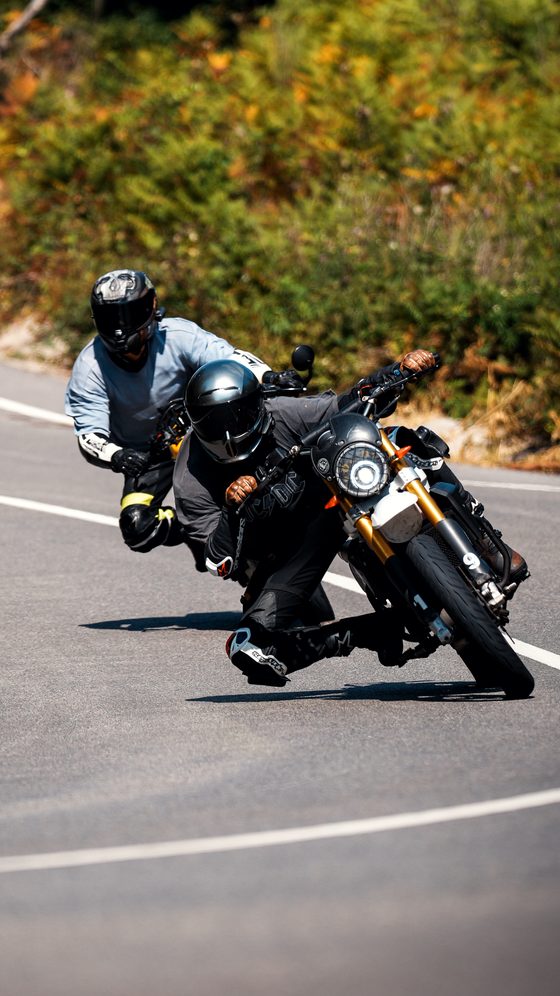
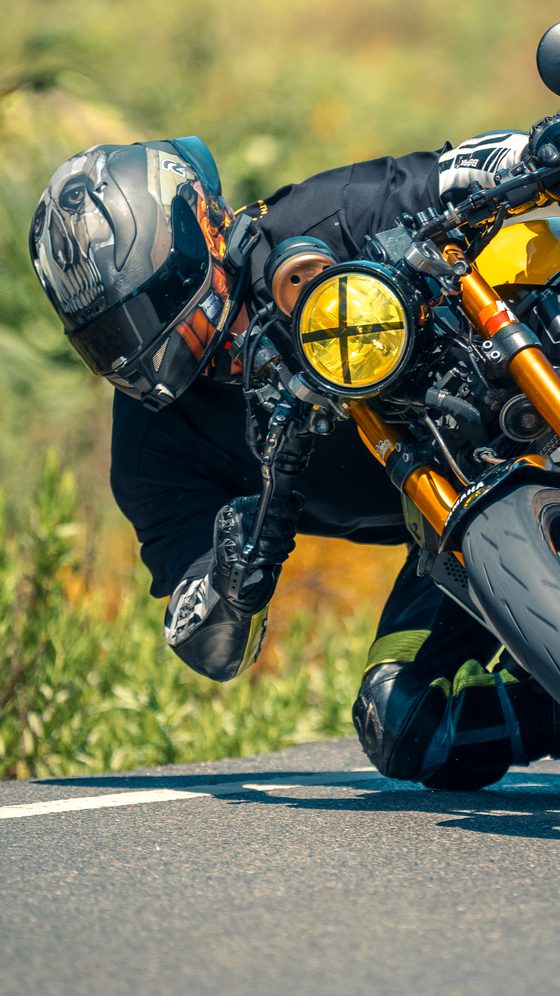
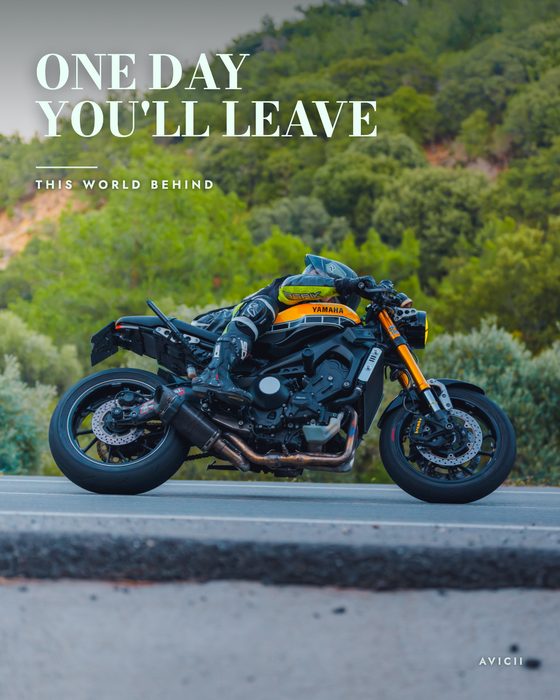
Give your photo a cinematic look. Pick a look from the strip below, dial in its intensity, compare before and after, and download. Everything runs in your browser — no quality loss.
Cinematic photo colour grading
Color Grade is a free online colour-grading tool that gives your photo a cinematic look. Add film flavour with 21 built-in film looks (Teal & Orange, Gotham, Kodachrome, Noir…), an intensity control, a before/after compare, and card/blurred-background layouts. You can also upload your own .cube LUT. Everything runs in your browser, quality is preserved, and the output downloads as lossless PNG.
What is colour grading?
Colour grading is the deliberate adjustment of an image's colour and tonal balance to give it a certain mood or cinematic feel. The familiar movie "Teal & Orange" look — teal shadows, warm skin — is one example. Color Grade brings the LUT workflow used in film to your photo: apply a preset look in one tap and tune its strength with a slider.
How to use it
- Add your photo (JPG, PNG, WEBP or iPhone HEIC).
- Pick a look from the strip — each thumbnail previews on your own photo.
- Set the effect strength with the intensity slider.
- If needed, adjust exposure, contrast, temperature and shadows/mids/highlights.
- Compare before/after, then download lossless.
Tips
For a natural result, don't leave intensity at 100%; 60–80% is more believable on most photos. To keep skin tones, go easy on temperature. If you have your own film look, upload its .cube LUT to the strip and tune its intensity like any other look.
Frequently asked questions
How do I give my photo a cinematic colour tone?
Upload the photo, pick a look from the strip (e.g. Teal & Orange, Gotham, Kodachrome), set the strength with the intensity slider and download.
Can I use my own .cube LUT?
Yes. Tap the "+ Your own LUT" tile at the end of the strip and upload your .cube; it appears like the other looks, stays saved, and you tune its intensity with the same slider.
Does it reduce quality?
No. Grading is applied at full resolution and the output downloads as lossless PNG.
Is it free and does it work on phones?
Completely free, no install. It runs in the browser on phone and desktop; your photo never leaves your device.
Are iPhone (HEIC) photos supported?
Yes, HEIC photos are converted and opened automatically.
Developed by: otto.